If you’re anything like us, spring bulbs create one of the most welcome sights of the whole gardening year. From the appearance of the very earliest snowdrops, spring flowers work wonders in brightening up the garden and lifting the winter blues. Seeing the first shoots from your kitchen window, waiting as the buds grow and fatten, and finally, the first glorious flashes of colour… and breathe. Winter’s over.
Although the clocks haven’t yet gone back, it’s time to be planning ahead for that burst of colour which can save your sanity come spring. Sometimes there can be disappointment, though, as the blooms that were so carefully planned and planted in the autumn fail to transform into the anticipated carpets of colour.
So what are the things to watch out for when planting spring bulbs? And how can you edge your garden display closer to the floral fireworks in your mind’s eye? Here are our six top tips for planting spring bulbs.
 Don’t plant too early. It may be tempting to get bulbs in while there’s still warmth and even possibly some sunshine to be had (and is it just us, or does September always seem to have at least a couple of decent weeks, often coming after heavy skies in August?), but most garden gurus agree that October is generally the best month for daffodils – and hold fire, if you can, until November to get those lovely tulips in the ground.
Planting bulbs in concentric circles is a good idea, and definitely one that we’ll be trying this year. Plant the early-flowering bulbs in the centre of the circle, with later-flowering plants spreading out in concentric rings. That way, the beautiful blooms of the later flowers will hide (or at least, camouflage) the fading foliage of their earlier cousins.
It’s best to put the bulb the right way up into its winter bed. If you’re not sure which end of the bulb is which, generally speaking the pointy end is ‘up’ and the rough side (where the roots are) is ‘down’. However, don’t worry too much about laying a bulb on its side. The roots and shoots will still do as nature intended and happily make their own way to where they’re meant to be.
Grit is good. In heavy soils and especially for container planting, there’s always the risk of the bulb rotting if it gets too wet in its winter bed. To aid drainage, use plenty of crocks at the base of pots (or even recycle some broken-up polystyrene packaging, to reduce weight), or dig in plenty of horticultural grit for planting in the ground.
 Don’t forget to mark where you’ve planted your bulbs. Some gardeners think that too many plant labels can look messy in a bed, especially if largely left to their own devices over the winter, but we think stylish plant labels can make a sleeping garden look loved.
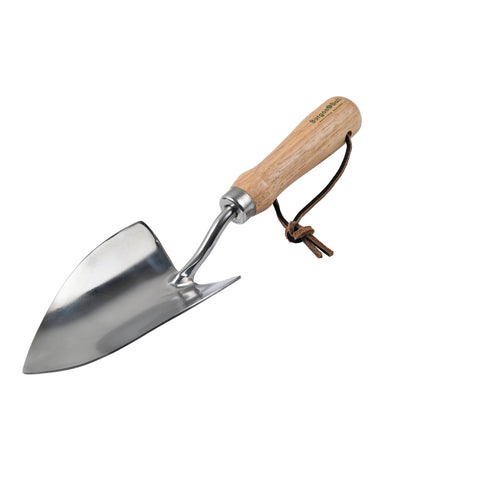
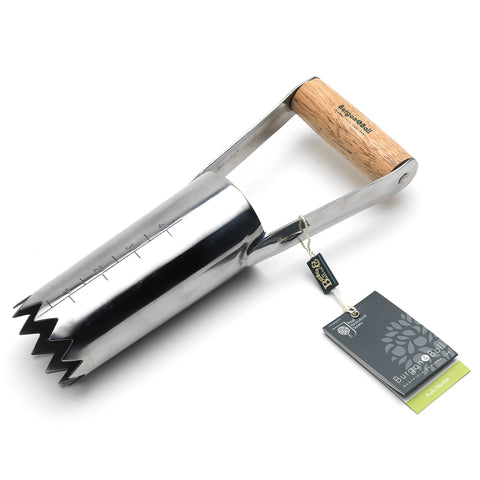
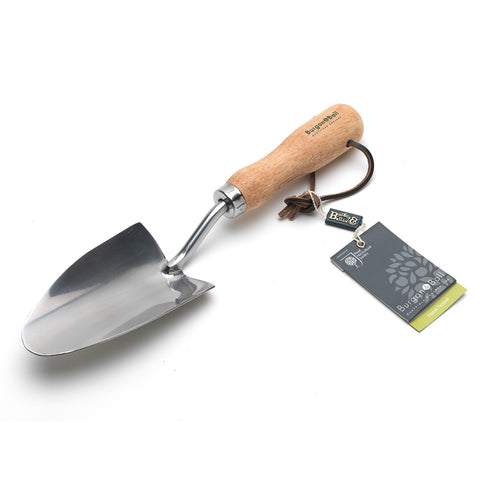
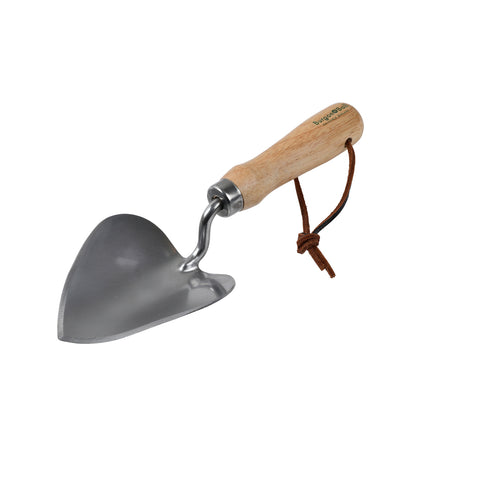
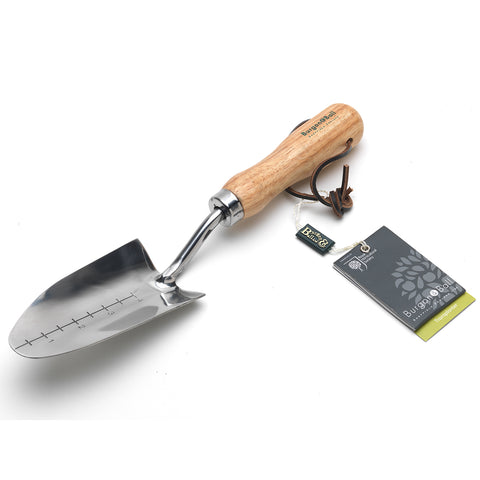
Digging endless holes for your bulbs is a fairly tedious way to spend an afternoon – not to mention, it can be hard work. A bulb planter will help you get the work done in a fraction of the time, and without the backache. It will easily remove a core of soil to leave a beautiful round hole into which you can pop some grit and the bulb, after which the core can be replaced, with minimal upheaval to the surrounding area. They’re especially handy for planting bulbs under a lawn – maybe next year is the spring you finally create that rich swathe of crocuses peeking up through the grass?